


So, I've been working on prettying up the master bedroom for... the past 6 months. (It's last on everybody's list, isn't it?) It's larger than our previous bedrooms, has a higher ceiling, and has just one large window that I kind of hate. It also has vertical blinds that I definitely, definitely hate. But those have to stay for now. They're ugly and their presence really frustrates me, but the best I can do is work around them.
Four different pairs of window panels later, I decided to make a fabric cornice.

There are several DIY instructions on the web, including this one using plywood, but I don't do wood. The Husband and I are not saw people. I'm pretty sure it's for the best. I remembered seeing or reading somewhere about putting one together using foam insulation. It's easy to cut, super lightweight, and probably easy to install.
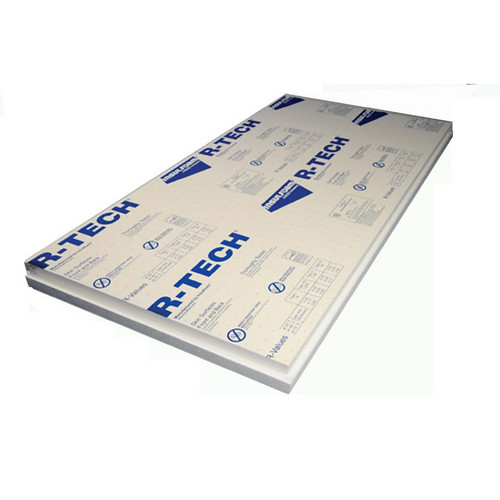
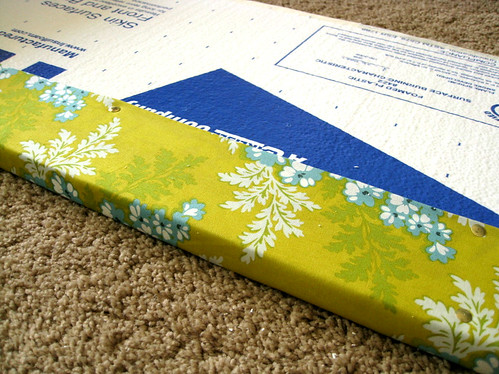
I chose this one at Lowe's for about 10 bucks. Unfortunately since I was dealing with a large window, I had to buy an eight foot long piece and I'm sure seeing me find a way to fit it into my van on a windy day provided any parking lot onlookers some great comedy. (Yes, I saw you sitting in your car watching me and not offering me any help!)
So. To figure out the dimensions I needed, I measured my ginormous window and added about four inches to the length. I just eyeballed the height and decided on about 14 inches. (And I really mean to use the "abouts". I was not very precise.)
Using masking tape, I taped off marks for where I wanted to cut. I used a little hand saw (I swear to you it is the only saw we have.), but you could use a long kitchen knife if you needed to.
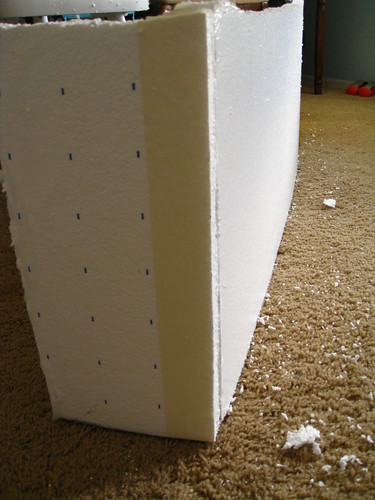
Once the front was cut, I cut two three inch wide pieces for the sides. I attached them using hot glue (yep!) and secured with masking tape.
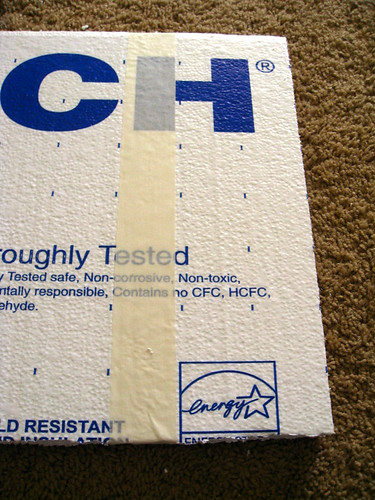
Oh, did you know that this type of foam insulation is really, really messy? When I was done, my work area reminded me of the time my son emptied a bean bag pillow all over his room. In retrospect, I probably should have gone with a polystyrene foam board instead of just grabbing and running with the first insulation board I saw.
You probably noticed how uneven the top of my board was at that point. The smaller my board got (remember, it was eight feet across), the easier it became to cut. So I trimmed and evened it out as I went along.
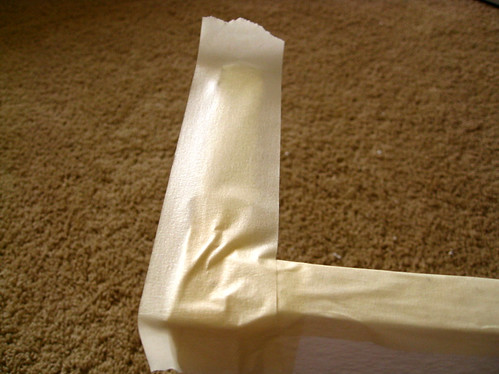
To secure joints and stabilize the board as a whole, I taped all the edges as well as all the way across, every few inches.
Then came the fun part: actually making it look pretty. And totally easy! I simply laid the cornice on top of my fabric, folded it over the edges and pinned it on. If I ever get sick of this fabric, I can pretty easily switch it out for another.
Initially, I tried thumb tacks...but duh. They popped right out of that darn foam. Straight pins work much better.
Now, hanging. After a few different attempts, I decided the best way to hang mine was also the simplest: I screwed two inch screws into the wall and poked the foam board right onto it at each end. That's it! If you're doing a smaller window, another (possibly more secure way) to hang the cornice is to duct tape a cheapie curtain rod to the back and hang it on brackets. The board is so light, though, it really doesn't require anything heavy duty.
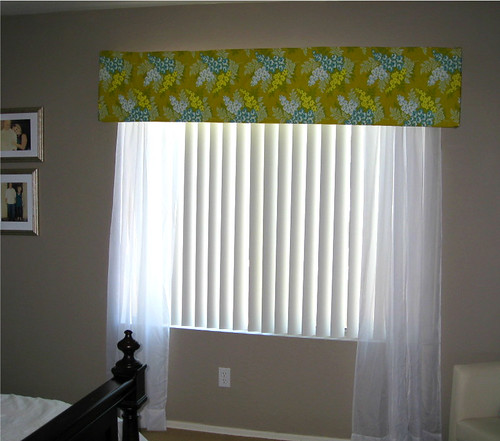
And there you have it. I love the warmth and color it adds to the room and I love the large scale. Now to make a few pillows with the leftover fabric...

Linking up to these great blogs:
Keeping it Simple, Mad in Crafts, Sew Can Do, The DIY Showoff, The Girl Creative, Sumo's Sweet Stuff, A Bowl Full of Lemons, Blue Cricket Design, Someday Crafts, A Glimpse Inside, The Shabby Chic Cottage, Yesterday on Tuesday, Today's Creative Blog, 30 Handmade Days, Fingerprints on the Fridge, The Shabby Nest, Romantic Home, Finding Fabulous, Tidy Mom, Tatertots & Jello


You're installation idea is so simple and brilliant! This is gorgeous and I love the fabric. Thanks for sharing it (I was intimidated by these before this)!
ReplyDeletewow, this turned out beautiful and seems easy enough to try myself :) LOVE your fabric choice!
ReplyDeleteJackie
http://jaclyndesigns.blogspot.com/
I love the colors you chose. Looks great! I hope you will share at my party!
ReplyDeletehttp://www.cherishedbliss.com/2011/06/craft-and-tell-no-8-and-features.html
love the fabric pattern and colors! also love the foam... :) great job!
ReplyDeleteI'm a new follower coming over from A Bowl Full of Lemons link up party! I've been wanting to do this for quite some time, thank you for this easy tutorial!
ReplyDeleteLooks really beautiful. Maybe even easy enough for me to do. I've wondered how to spruce up my blinds. Thanks for the great idea!
ReplyDeleteShannonsews.blogspot.com
This is such a great idea! I'm bookmarking it right now. Now I just need to find the right fabric for my guest room. Thanks!!
ReplyDeleteThis is a design I could get behind. I never would have guessed it was foam board. Looks great!
ReplyDeleteGreat, inexpensive, and easy! I'm sold and am going to have to try it.
ReplyDeleteThat turned out great, cute fabric too!
ReplyDeletethis is great! i'll let you know how mine turns out :)
ReplyDeleteyour newest follower,
angela
This turned out great! Foam, I never would have thought of foam for that project, how creative are you! Great Job
ReplyDeleteSuch a great post about window cornice designs, so it could be better to keep on posting!
ReplyDeletelarge red wall art
ReplyDeletevertical long painting
gold sparkle wall art
floral triptych wall art
3d flower painting on wall